Adding headrests to the back seat of a 2000 Jeep Cherokee (XJ) - Part One
My kid has outgrown his booster seat, but we have continued to use it for far too long because the back seat of my Jeep has no headrests. I set about solving that problem today.
I did some research on the internet and found that the back seat headrest brackets from early 2000 Jeep Grand Cherokees will fit the frame of the XJ back seats. Also, the back seat foam form actually has partial cut-outs for brackets because Jeep sold some Cherokee models in non-US markets that did have head rests.
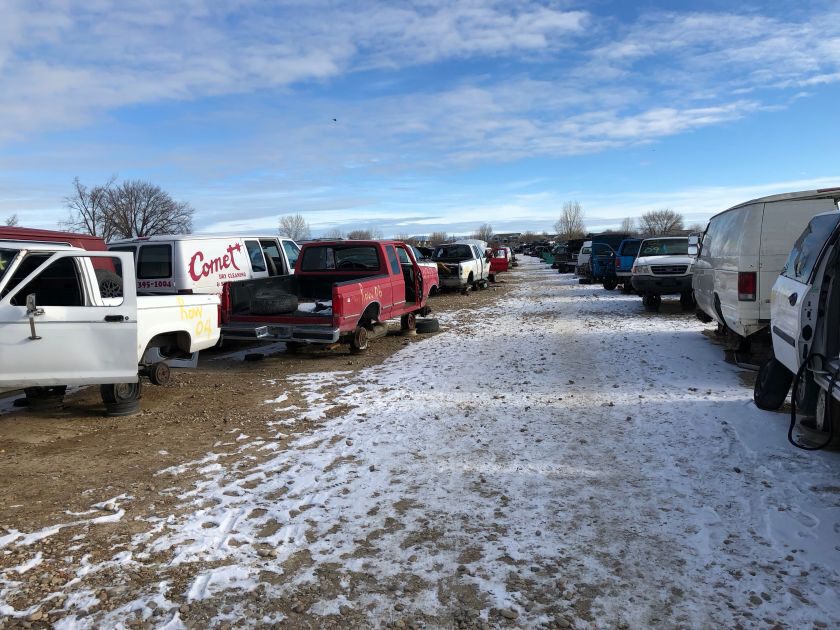
Off to the pick-n-pull. At my junkyard, of course the Grand Cherokees were in the very last row of the lot…
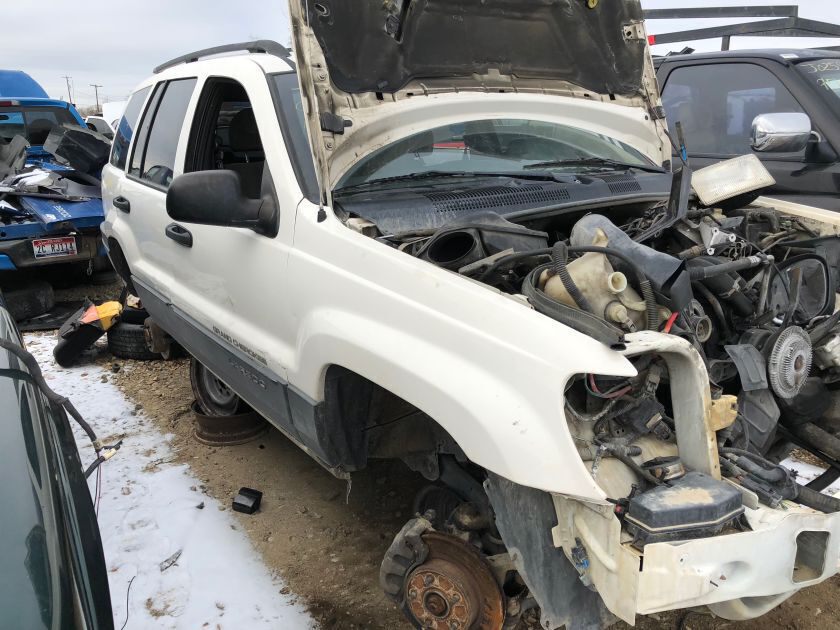
Here is the donor vehicle, a 2000 Jeep Grand Cherokee.
The seat backs are held in by a single two-bolt bracket each. The bolts are 15mm. The bracket between the two sections are actually slide-in posts, so once you have the door-side bracket loose, you can just slip the seat off the middle bracket on each side.
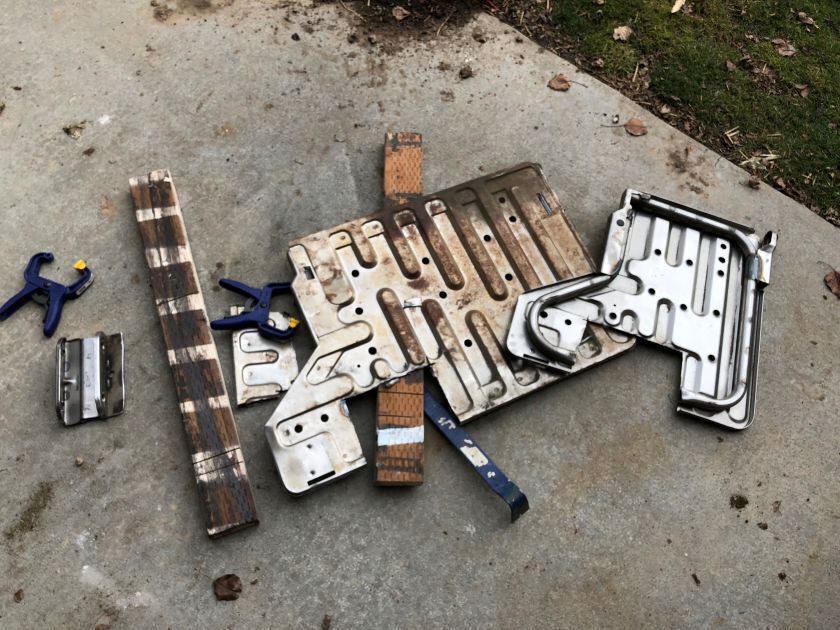
Here I am field skinning the seats. Bring a bigger knife than my puny Victorinox Swiss Army Classic SD… it took me forever to get the “hide” off the seats. Spend the time to take the release levers and lower brackets off – it’ll be a lot less weight to carry back to the cashier. To do this you’ll again need a 15mm socket and Philips screwdriver.
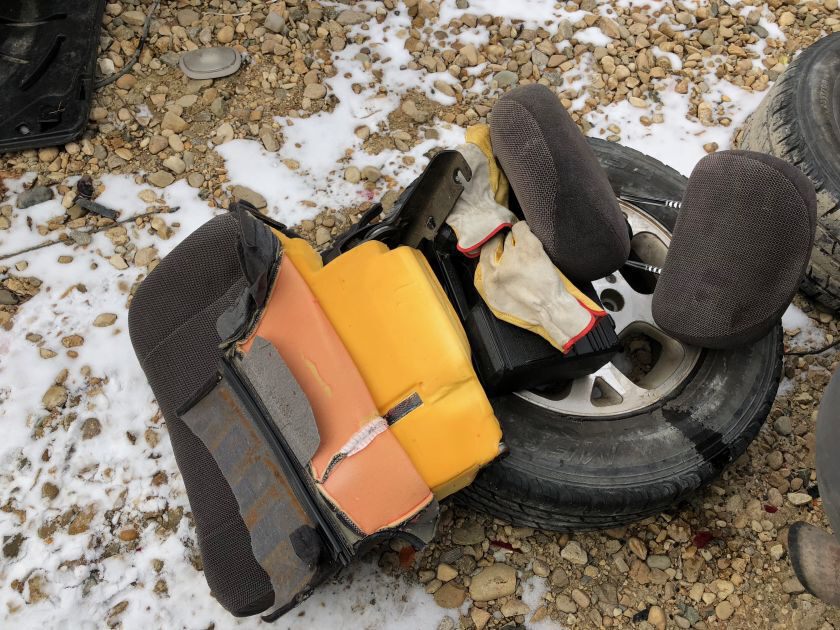
I paid about $7.50 for each headrest and $4.85 for each of the seatbacks, total of $27 after tax. Stripping the seat down to the metal will probably save you some money, as they look pretty spartan.
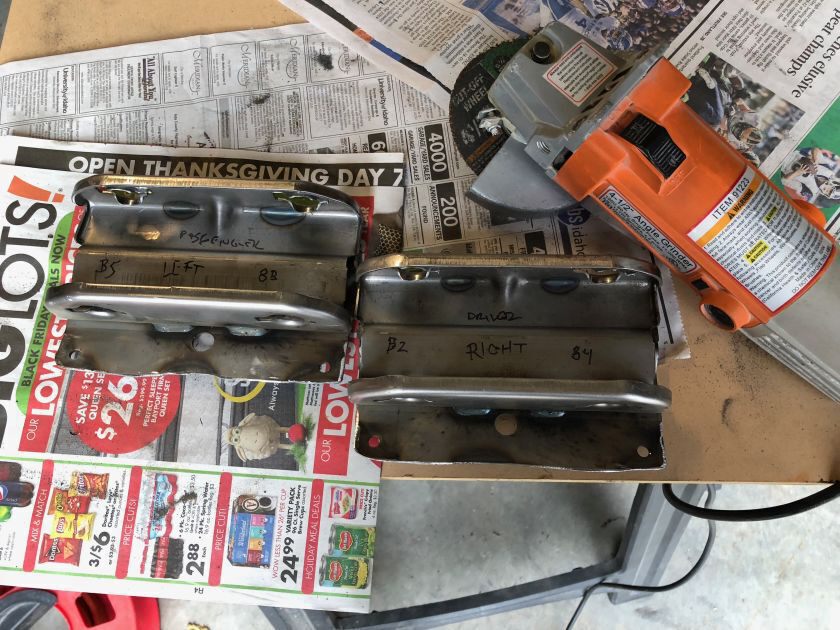
The plastic post holders will come out with a quarter turn clockwise twist. Make note of the number/letter combo on the side of the plastic post and mark the bracket (I had B2, B4, B5 and B8). Also make sure to note which side you took each bracket from.
I’m not sure it makes a huge difference if you mixed them up, but I’m a perfectionist (when I try to be).
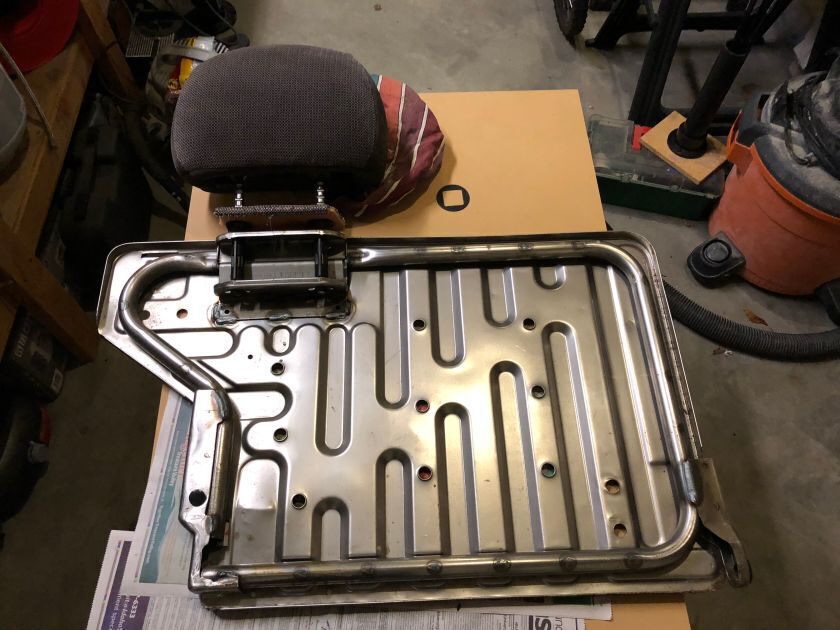
I used an angle grinder to cut away the seat back around the brackets and clear away the welds holding the brackets to the main seat back frame. Keep the sections of the original frame backing that you removed as they will work as perfect spacers behind the brackets.
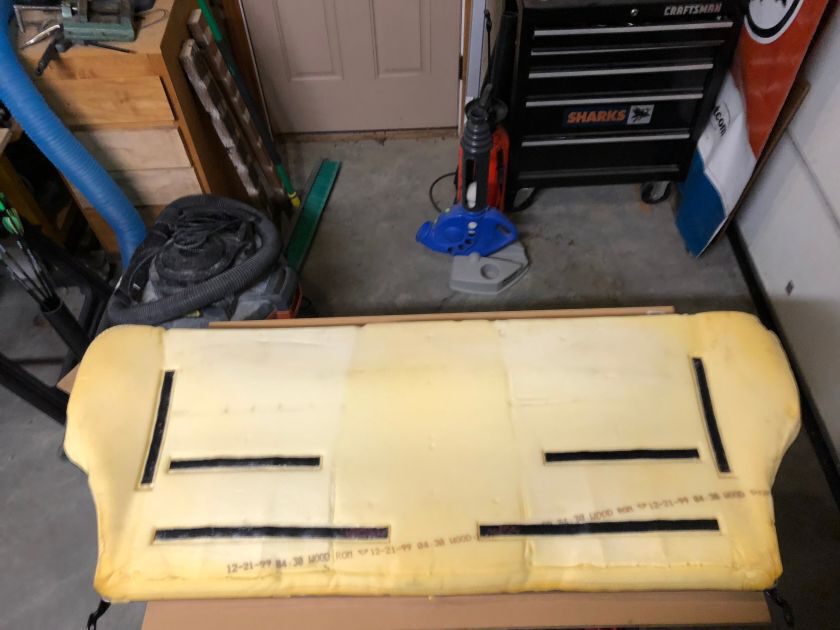
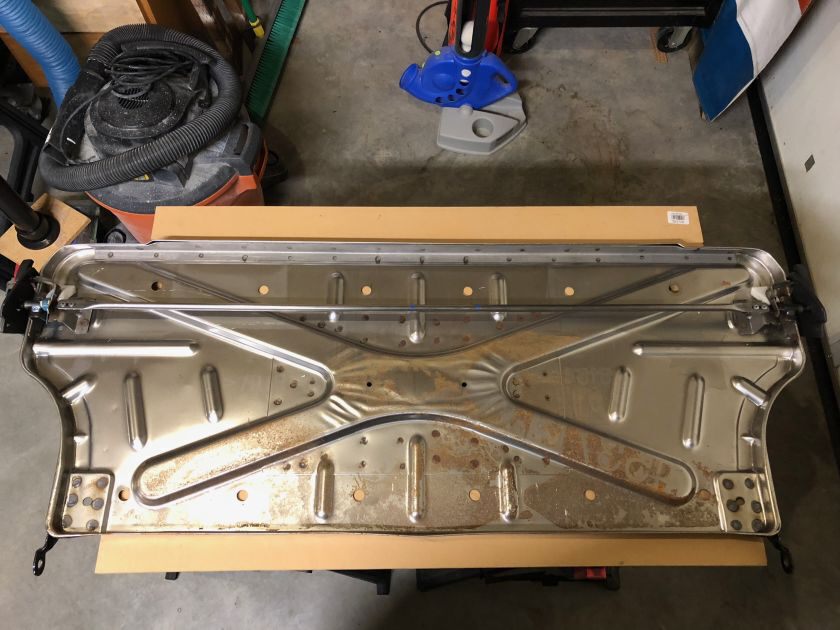
Now you’ll need to remove the seat from your Cherokee and strip it down to the frame. My seat was actually built way better than the Grand Cherokee seat backs as it has zippers all around. I put some zip ties in the zipper pulls to make it a bit easier to pull them along. You’ll want to remove the two screws holding down the lock release bracket on either side. You will not need to remove these parts, but when the brackets are loose you can easily get to the zippers. This will ease the removal of the cover. Slide your hands inside between the seat cover and the foam to release the velcro that is holding the cover to the foam. Remove the cover. The foam will easily lift out of the frame.
I decided to drill out the rivets holding the bar that connects to the lock release levers to each other. This is because it interferes with the path of the headrest posts and wouldn’t allow the headrest to be pushed all the way down to the top of the seat back. It’ll make it a bit tougher for a single person to unlock the seat back to lay it down, but I’m ok with that.
You’ll want to mark the seat back frame on either side of the bracket openings on the inside of the foam – this will allow you to figure out where the center the brackets. You’ll eventually need to remove some foam to make room for the new brackets, but we’ll save that for until we weld them in an know exactly what we need to remove.
I’m not a welder (yet) so I decided to drill a hole to hold the bracket in the desired location until I’m able to get someone to help me with the welding part. I trimmed down the saved frame parts from the original Grand Cherokee seat backs to use as spacers at the top of the bracket. Put the plastic guides back in so you’ll be able to align the final position of the bracket. I made it so the top of the inside post guide was flush with the top of the metal frame and rested just a few millimeters from the front edge.
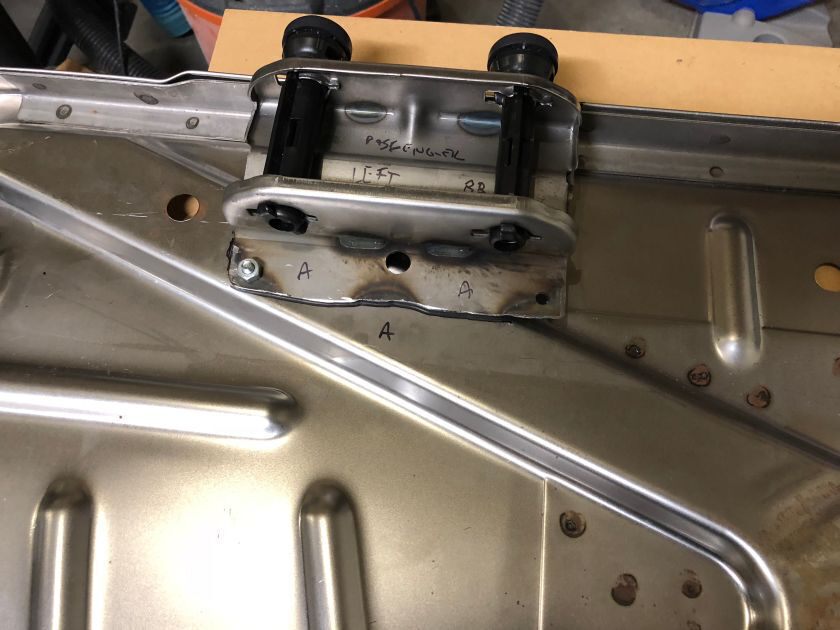
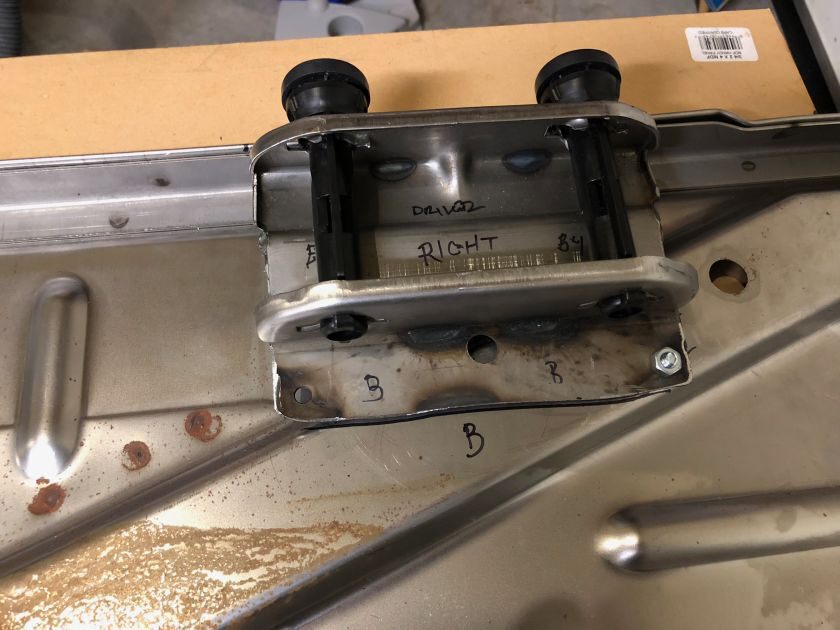
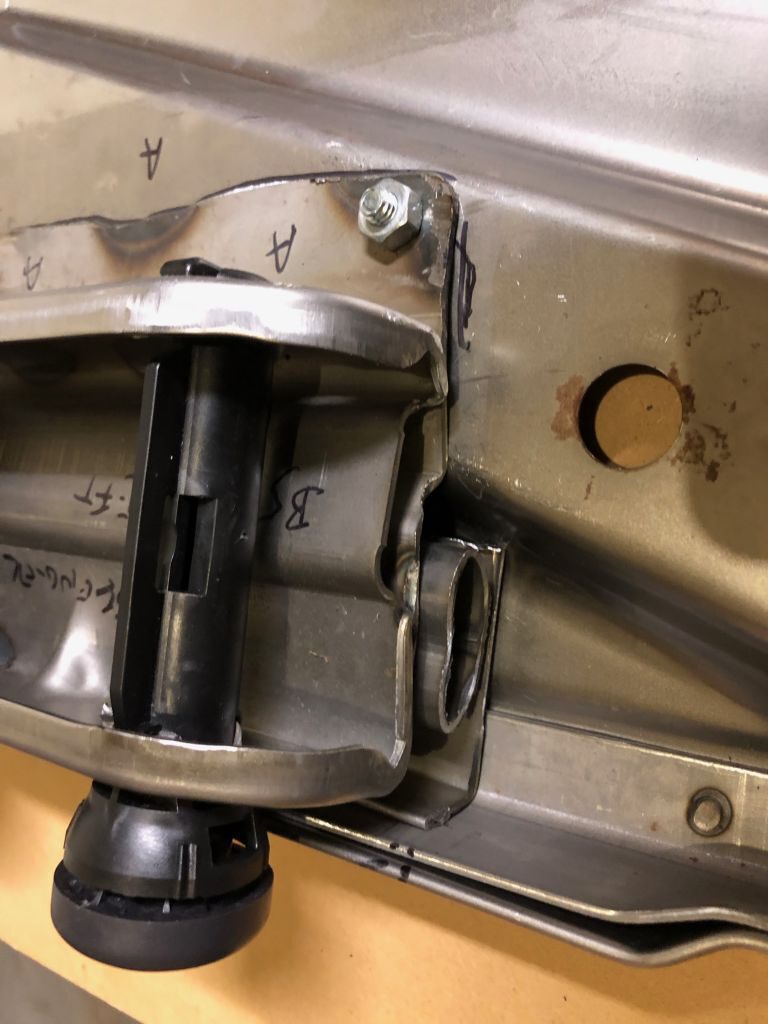
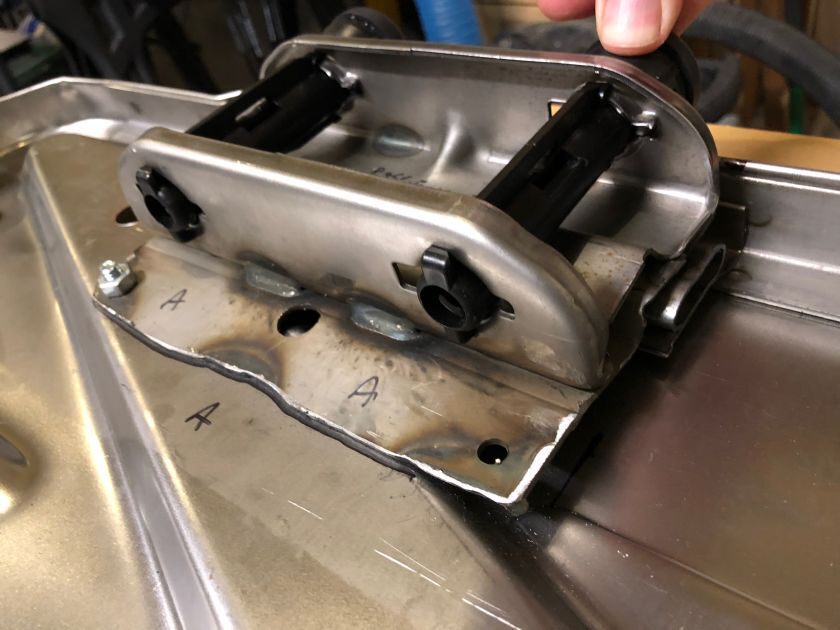
I made sure to mark up the intersections with a sharpie so that my welder friend will be be able to easily line up the bracket prior to welding it in place. UPDATE: See Part Two as to why I think I should have mounted these higher than I did.
That’s it for part one. I’ll add more once I’ve got the bracket welded in place and get the foam and cover back on my seat back.
UPDATE! I finished! Check out Part Two!