My Computer Lab
or… how I stopped worrying and learned to love containers…
[UPDATE Nov 2019] I’ve recently moved from Nomad/Consul to Kubernetes for my Orchestration and Service Discovery.
So I have been meaning to write about my hobby “datacenter” for a couple years now. I finally have it running in a state I’m happy with, and I’m ready to back up the write up with some code. I’ll also go into the tools I chose and why I chose them. I did a lot of research and much trial/error to get to this point and I’d like to pay if forward to all the great open source software and documentation that’s gotten me this far. Thanks to everyone that has contributed to every piece of software I’ve used and love. I can only hope that some of my experience will help others that are heading down the same path I have chosen.
I’ve been through many iterations of my “at home” computing stacks since the late 1990’s: the gradual progression of tower PCs running Linux on bare metal, adding more storage, moving into virtual machines, purchasing a NAS and moving into managed switches, etc etc.
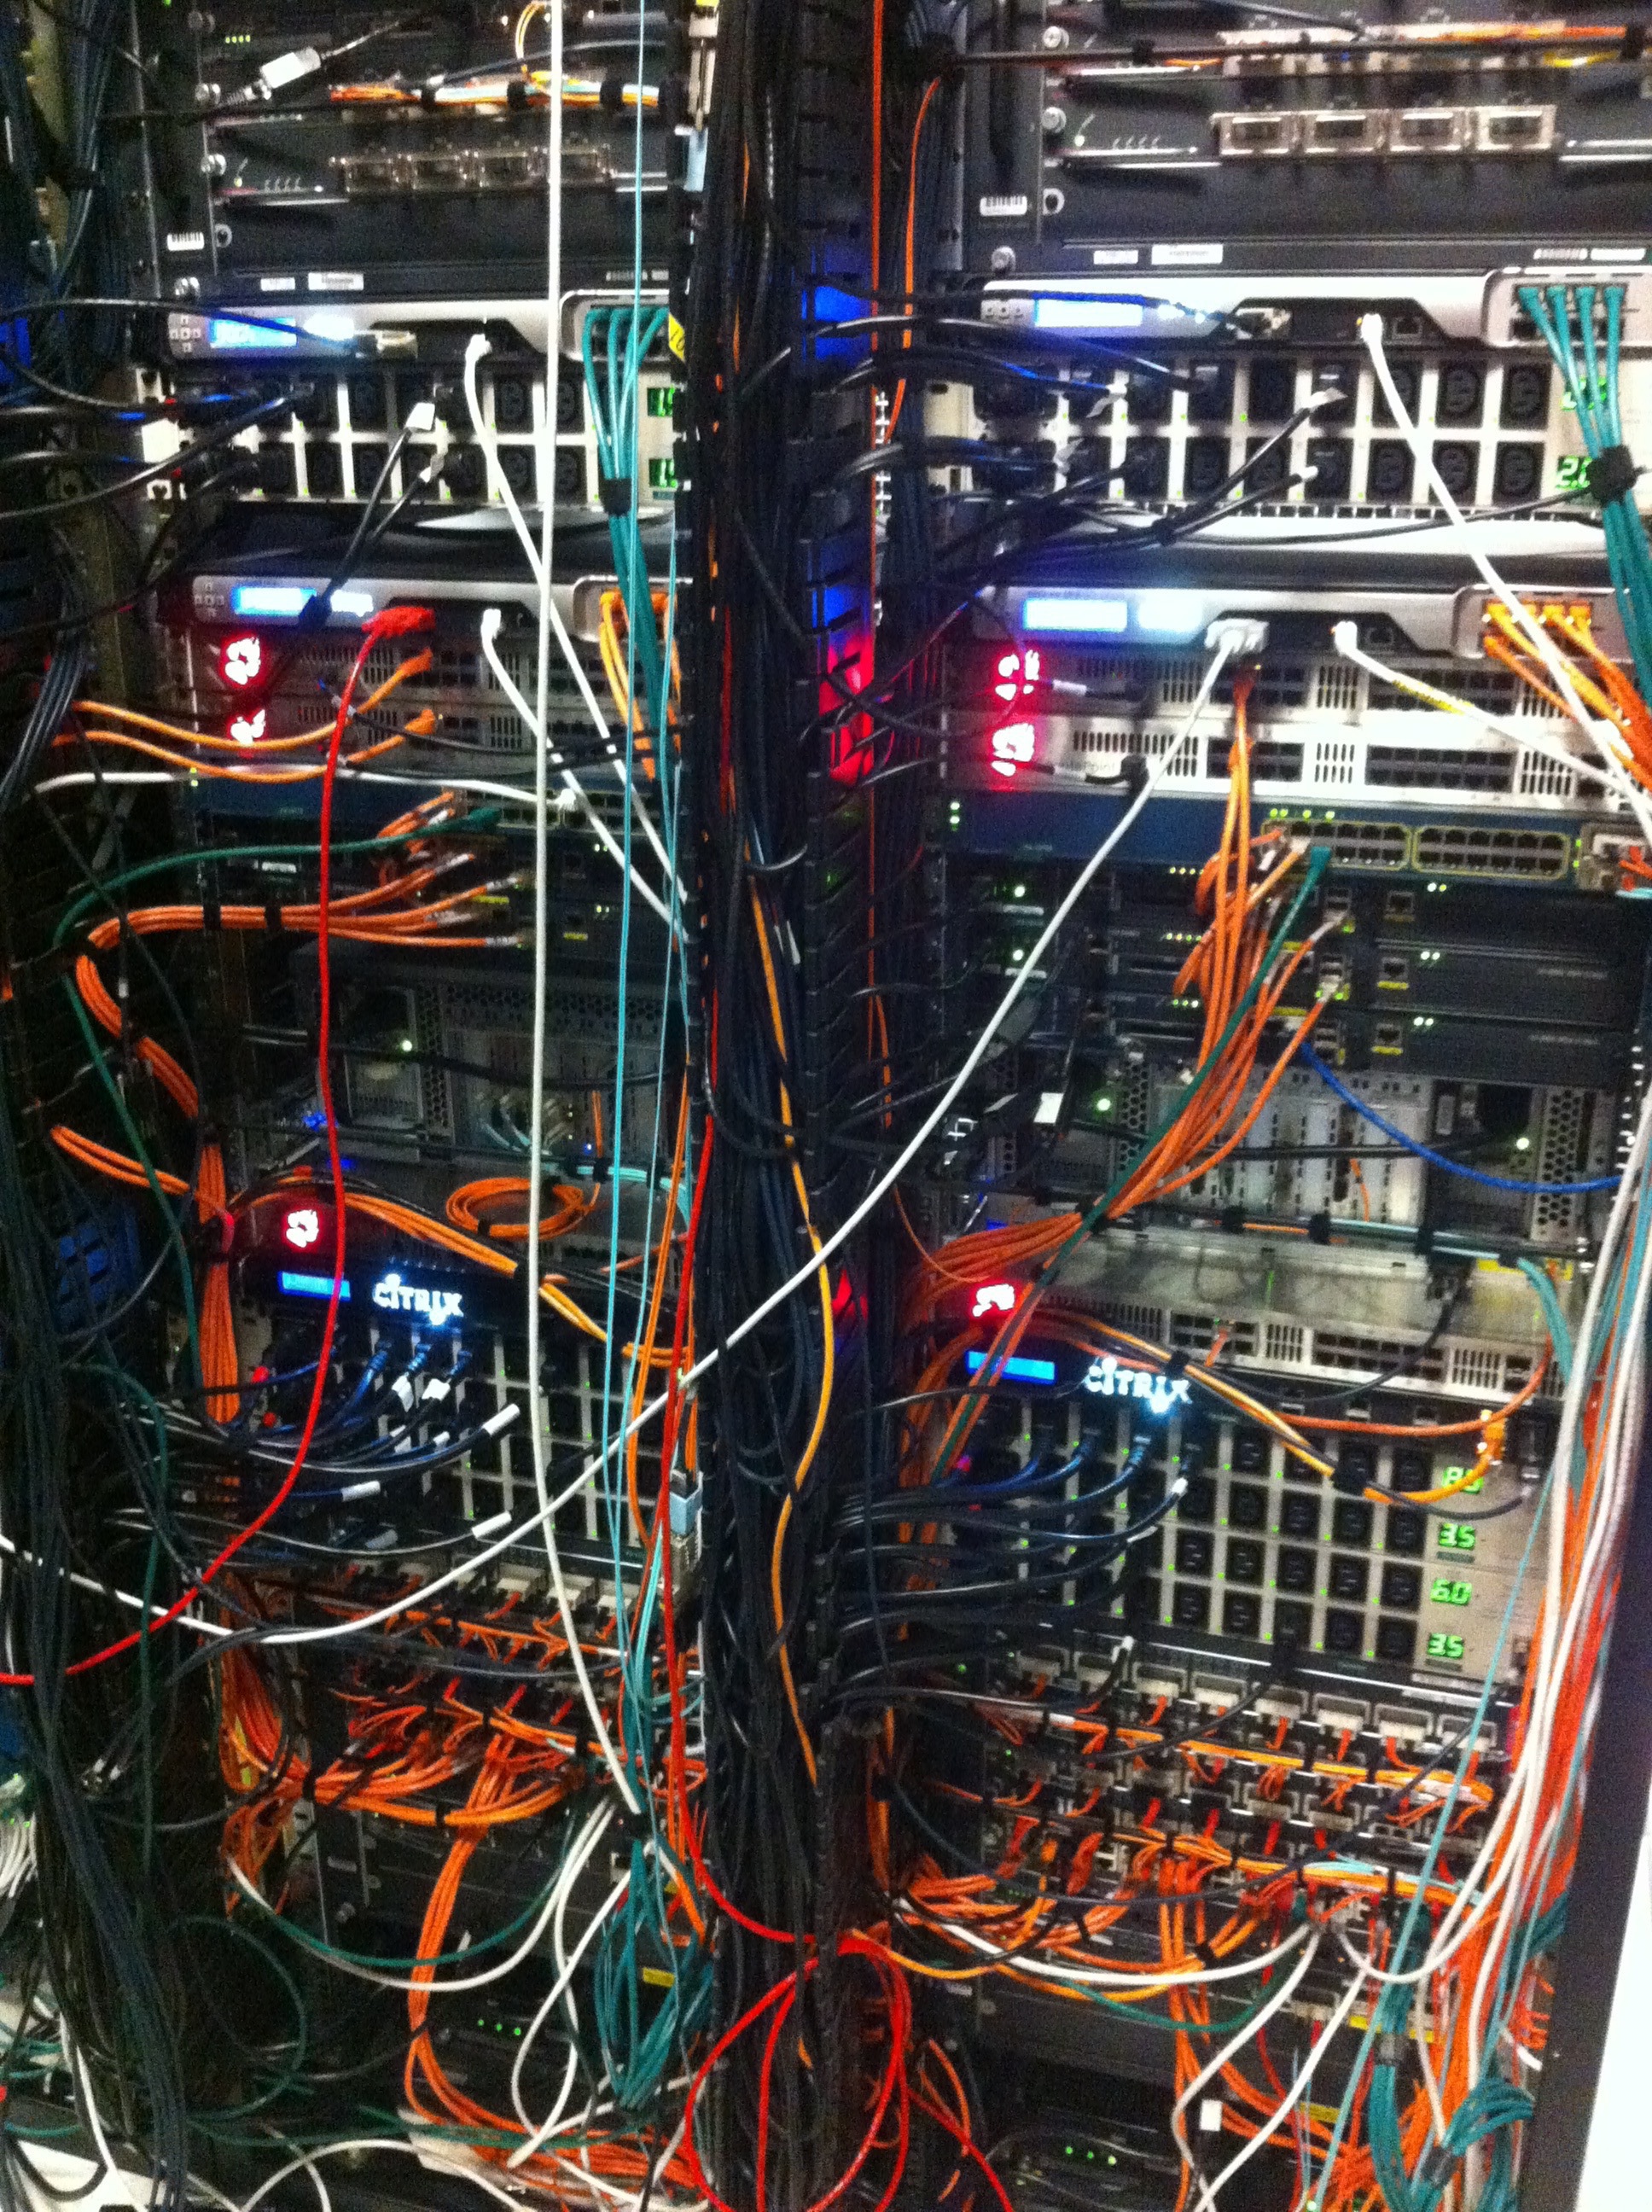
Here’s where I’m at today with my hardware:
| Router | 1U SuperMicro, 4x Intel ethernet + IPMI - pfSense |
| Compute | 3x 1U SuperMicros with 12 Core CPU, 24GB RAM |
| Storage | 8 Bay Synology RS1219+ |
| Network | Cisco SG300-24 Managed Switch |
| Form factor | 19” Server rack with UPS |
| WiFi | 3x Eero mesh |
Let’s get started
- Virtualization: Proxmox
- Infrastructure Node Provisioning: iPXE, tftpboot and http
- Services and Orchestration: Kubernetes
- Service Discovery, keys and secrets: Kubernetes
- Metrics, Monitoring and Alerting: Prometheus, Grafana and Slack
- The nuts and bolts
- Conclusion
Virtualization: Proxmox
I chose Proxmox as my virtualization solution on each of the three compute-dedicated Supermicros. I have toyed with the idea of PXE booting something like CoreOS to the bare metal, but I’m not ready to go there yet. We’ll get to that later.
I am so glad I found Proxmox. VMWare licensing got difficult for us cheapskates doing stupid small things at home… and I wanted to find a light management interface that didn’t consume 25% of my total resource footprint. Citrix Zen was close, but it still required Windows for a management client. Proxmox is light and clean, has great HA features. Basically a wonderful GUI wrapping around KVM on top of the Debian OS that we’re all familiar with… System and Service upgrades via apt?? #yespls!
Infrastructure Node Provisioning: iPXE, tftpboot and http
I set up PXE boot and tftpboot to run from my Synology NAS. So this part is a bit of a hack. There actually are a couple Terraform plugins out there for automating privisioning of VMs in Proxmox. I’ve tried them. I’m probably using them wrong, because they want to work off clones or templates and usually time out while that process is happening. In lieu of learning Go and working to change those plugins to meet my needs, I hacked together some shell scripts that work with the Proxmox API to provision VMs.
My hack: I apply my own (sequentially incrementing) MAC address pattern to newly provisioned Proxmox VMs with the ending suffix based on the next available VM ID. I have a range of DHCP addresses assigned to this MAC address block on my pfSense DHCP Server. With PXE/tftpboot you can force certain IP addresses to use a particular boot image. This allows me to set up a known block of (10-20) possible nodes that will be serving as possible application backends for purposes of configuring the HAProxy server on my pfSense router, as well as a common block for a SSH config with the public keys already set for this known set of hosts. I named mine “node” with the sequential interval of VM ID’s from Proxmox (ie. node101, node102, node103). This greatly simplifies SSH connections to nodes for troubleshooting issues.
I’m currently using CoreOS with a cloud-config from a web server (again, the Synology, with its internal web server hosting cloud-config.yml files).
As CoreOS is already taking care of the Docker side of things, I just need to cloud-config to set up the kubeadmin, kubectl and flannel networking packages.
Services and Orchestration: Kubernetes
To repeating myself, read about my full Kubernetes implementation
Service Discovery, keys and secrets: Kubernetes
Really straight forward here. Kubernetes handles Secrets and internal Service Discovery natively. External service availability is handled by MetalLB and the Kubernetes-pfSense Controller (for automatic DNS updates). Details on that follow later.
Metrics, Monitoring and Alerting: Prometheus, Grafana and Slack
Once we have all of our stuff up and running, we want to make sure it stays that way. Right? …. Right? I’d rather do something else with my weekends like play video games all day going outside and enjoying nature. So instead of staring at a screen all day, I make robots check stuff and let me know when things go bad.
I use a combination of node-exporter and CAdvisor to expose node metrics that Prometheus will scrape. Grafana visualization are used with their alerting feature when certain metrics cross thresholds that I’d like to know about - it gets chirped to Slack. Kuberentes monitoring is report via kube-slack.
The nuts and bolts
Here’s where we get into the details of my lab stack, top to bottom. Two of the cornerstone components in my lab are my pfSense router and my Synology NAS. I treat my pfSense router as a source-of-truth-for-all-things-Networking and the Synology as the source-of-truth-for-all-things-Persistent-Storage. Therefore, through Synology’s Docker service, I run persistent data services like MySQL and the like.
pfSense handles the DHCP and DNS services for the entire network. DHCP directs netboot clients the Synology NAS for PXE/tftpboot because its the thing that stores the kernel and boot images. pfSense’s DNSResolver (Unbound) resolves all service.svc DNS lookups to the HAProxy virtual IP (ie. http://nginx.svc) with MetalLB and the Kubernetes pfSense Controller. The wonderful Traefik Ingress Controller reads the service information from Kubernetes and automatically applies backend connections to the name-translated frontend.
Unless things have changed recently, Traefik only handles HTTP connections… so any TCP specific rules need their own custom front and backend rules on pfSense’s HAProxy service.
Conclusion
I know that was a quick fly-by of what I’ve done to make my lab serve my needs. It certainly doesn’t fall into the realm of “best practice” with all the DevOps-ness going around these days. At the end of the day, its the perfect learning tool at a known one-time expense enabling a wide range of experimental iterations inhibited only by one’s available time. If there’s one thing I would change, I’d go with the newer Intel NUCs now that they have remote management. The SuperMicro fans to move air through the 1U cases are way too loud.
Oh yeah, if you made it this far… or if TLDR’d your way here… here’s the source code for my implementation of my little piece of the cloud.
Hope it helps. If not, hit me up for questions in the comments. I’d love to help.
Keep on hackin’ on…