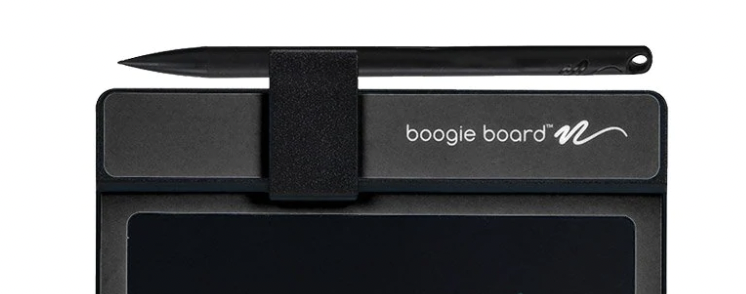
Replacing the battery in the original Boogie Board message tablet

We love our Boogie Board message device. Its been a good run at least 8-10 years since I purchased it new and the clear button no longer wipes the screen. Simple enough – the battery performed its duty faithfully and its time for a replacement.
Firstly you’ll want to source the CR2025 replacement battery. Here is a handy link to the batteries on Amazon.

Now, replacing the battery isn’t all that hard, but due to the fact the original battery is soldered and spot-welded to its leads, this might not be the best project for a beginner repair-buff or DIYer.
Let’s dig in. The sticker that is covering access to the screws is fairly easy to remove cleanly. I used an X-Acto knife (I love this kit on Amazon) with a wide flat blade to pry underneath the sticker to get it started up. Once you’ve lift a good amount of the edge, you should be able to get a metal spatula or old credit card underneath it slide under and remove it cleanly from the plastic panel.


No you have access to the screws. You’ll want a precision screwdriver set, as these screws are TINY!

Once you’ve remove the four screws, you can lift up and out on the panel to remove it. Now we can see the battery.


Time to de-solder the battery. I recommend either using a standard soldering iron and some de-soldering braid, or if you want to pimp out your toolkit with an always useful desoldering tool, I recommend checking out the Tenma 21-8240 iron that I’m quite happy with


Once you’ve got the battery out, you’ll either want to salvage the legs that are attached to the battery, or try your hand with your own lengths of wire. I simply bent the legs back and forth until they snapped free. Now here’s the part where I remove my self from any liability by warning you that bad things can happen to a battery when you add heat to it. At the very least, wear some safety glasses! You’ve been warned!
Ok, so if you’re willing to risk a small, fun, explosion… its time to heat up the portion of the battery that you’ll be attaching a wire to. Note that the battery we removed has a plastic shield protecting the edge of the battery from contact with the negative lead. The factory battery was installed with the negative terminal facing you and the positive terminal closest to the PCB. Be very careful and try to minimize the amount of solder you apply to the positive side of the battery as it might cause spacing issues and make it difficult to fit the plastic panel cover back into place.
Heat up a section of the battery you intend to solder the wire to. I’d leave the iron in place for 30-45 seconds and tap the section with some solder every now and then to see if it is hot enough to accept the solder. Once it takes, you can move to soldering the tinned wire or salvaged leg into place.

Solder that sucker back in the way the original one came out. Don’t forget to test your work at this point. Clicking down on the button should erase whatever scribbles are left on the board.

Then simply replace the cover, put the screws back in, re-attach the sticker… and you are good to go!
